Exception schedules examples
- The automation station PXC4.. PXC5.. or PXC7 is configured.
- Go to Building > Building structure.
- Right-click the controller and select Go to programming.
- In the control program, select the scheduler object.
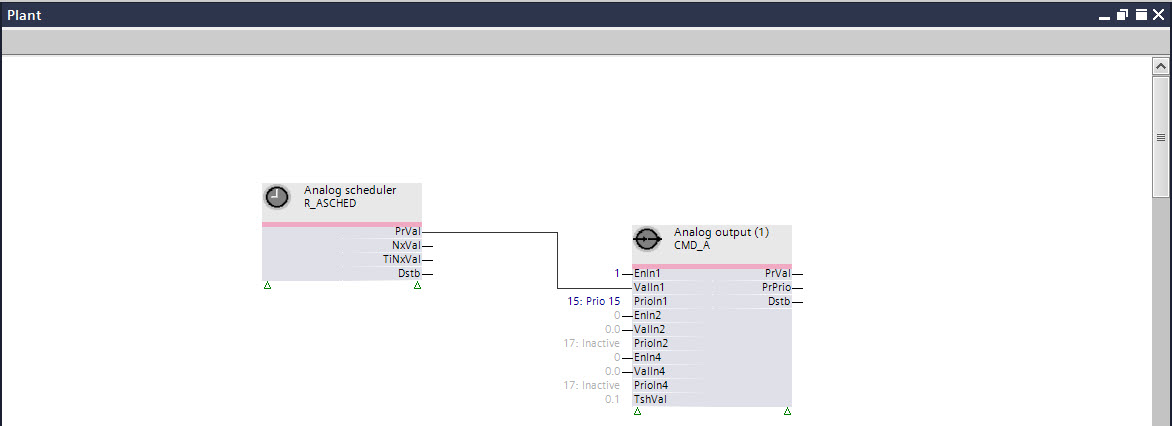
- Right-click and select Configure.
- The Scheduler overview dialog opens.
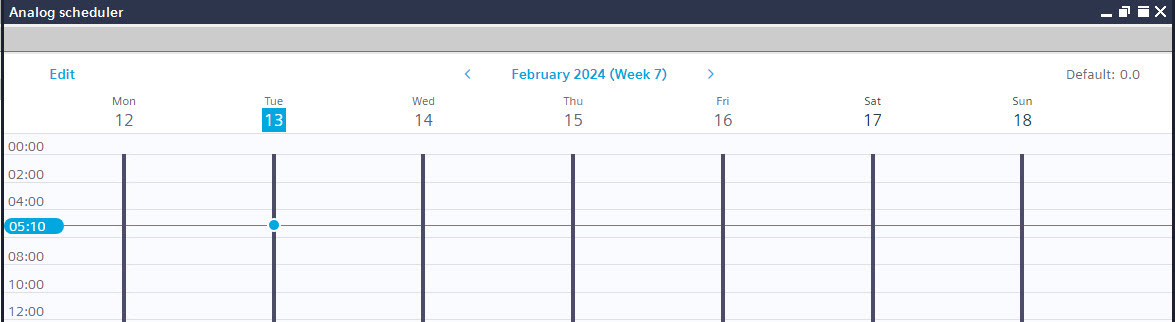
- Select Edit.
- The Scheduler details dialog opens.
- In Exceptions mode, click Exceptions display a calendar view of exceptions for the current month.
- While in the Exceptions calendar, click Add in the upper right corner.
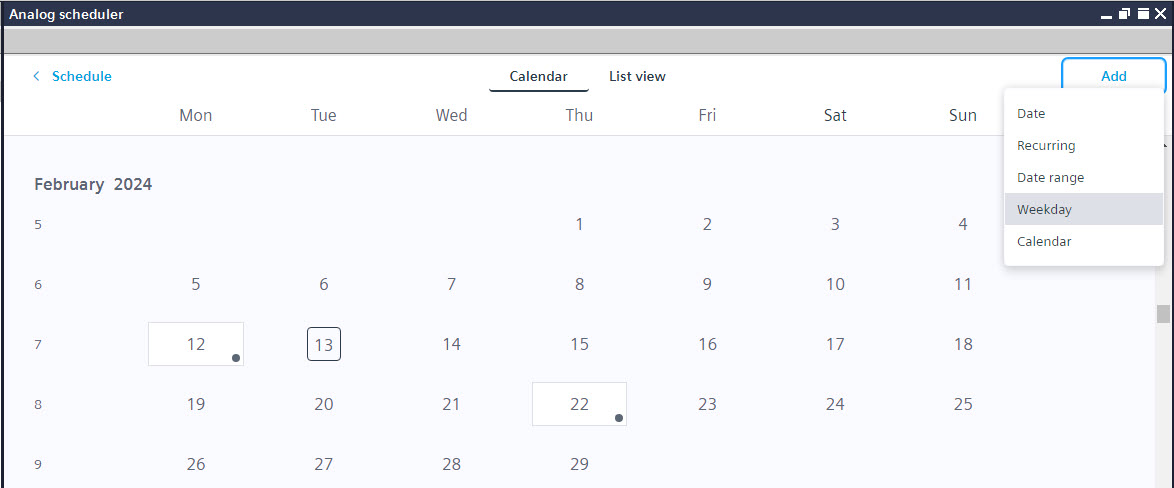
- From the type drop-down list, select Weekday.
- The New exception dialog opens.
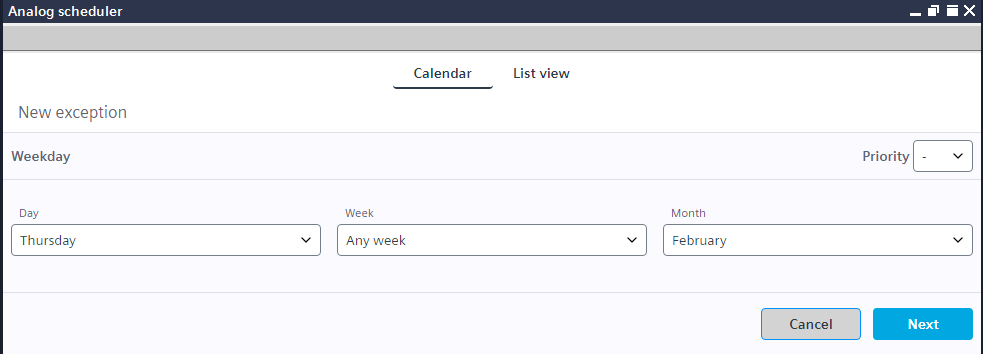
Example of a one-day exception
- The New exception dialog is open.
- Do the following:
- In the Day drop-down list, select a day.
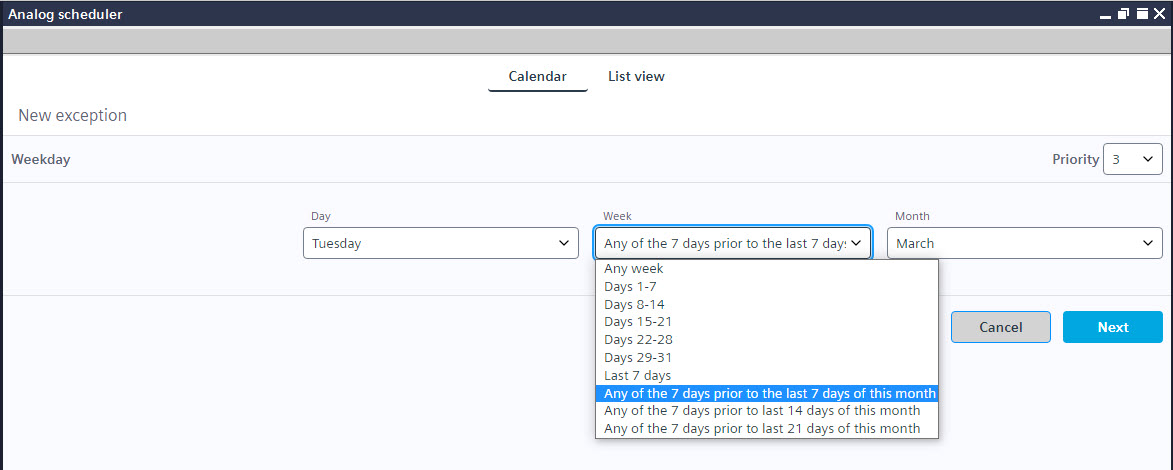
- In the Week drop-down list, for example, select Any of the 7 days prior to the last 7 days of this month.
- In the Month drop-down list, select a day.
- In the Priority drop-down list, select a priority.
Note: This is the scheduler priority and not the BACnet priority array property. This scheduler priority controls the exception if more than one exception is defined to the same time. - Select Next.
- The Day dialog opens.
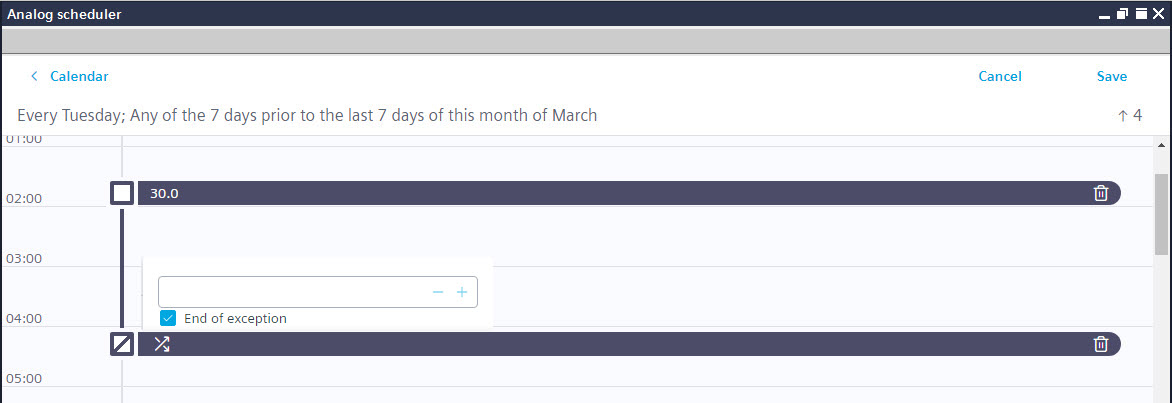
- Select the exception start time and add a value.
- (Optional) Select the exception intermediate time and add a value.
- Select the exception end time.
- Activate the End of exception check box.
Note: The control program takes over the value that was valid before the exception was created.
- Select Save.
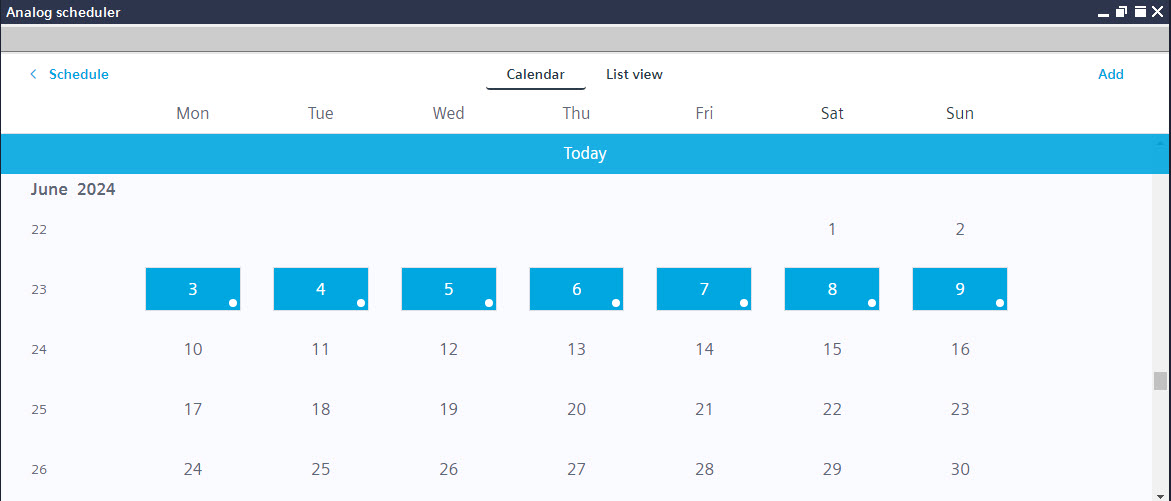
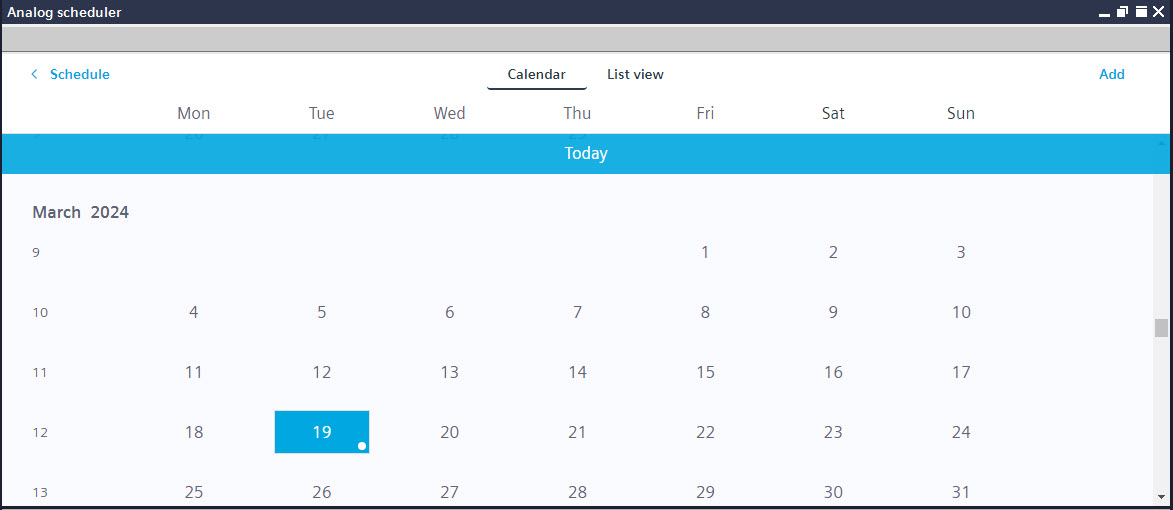
- Check the expected result.
Example of a multiple day exception
- The New exception dialog is open.
- Do the following:
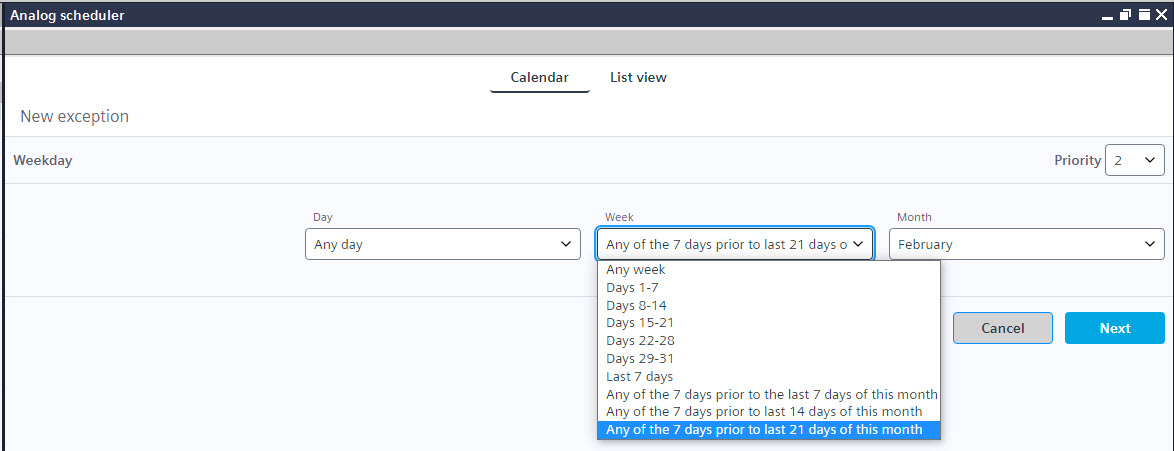
- In the Day drop-down list, select Any day.
- In the Week drop-down list, for example, select Any of the 7 days prior to the last 21 days of this month.
- In the Month drop-down list, select a month.
- In the Priority drop-down list, select a priority.
Note: This is the scheduler priority and not the BACnet priority array property. This scheduler priority controls the exception if more than one exception is defined to the same time. - Select Next.
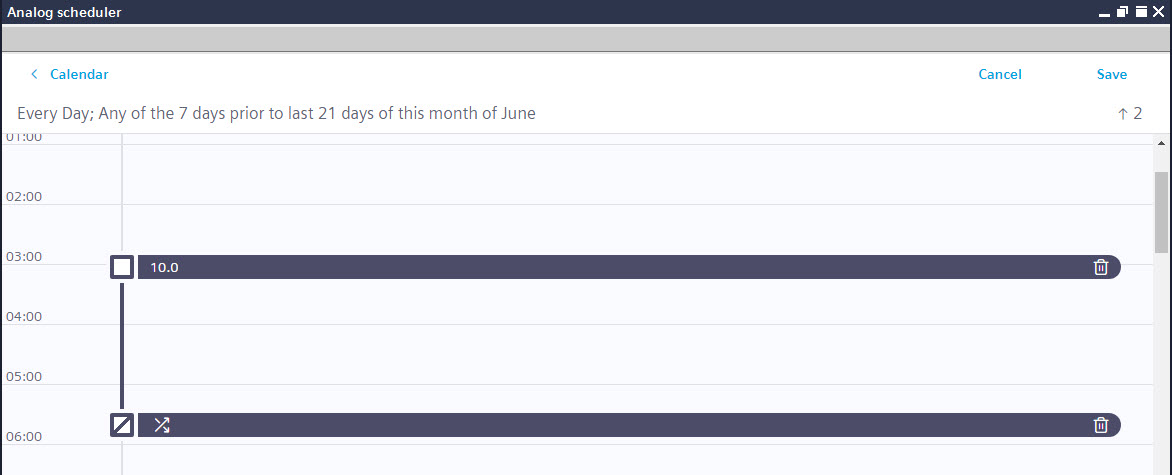
- The Day dialog opens.
- Select the exception start time and add a value.
- (Optional) Select the exception intermediate time and add a value.
- Select the exception end time.
- Activate the End of exception check box.
Note: The control program takes over the value that was valid before the exception was created.
- Select Save.
- Check the expected result.