Coordination folder
The Coordination folder shows all group manager objects, scheduler objects, and calendar objects.
Assigning group members to group managers
Add a grouping object
- In the Project tree, select [Plant name] > Resources > Coordination.
Coordination folder - Double-click Add object.
- The Add Coordination object dialog box opens.
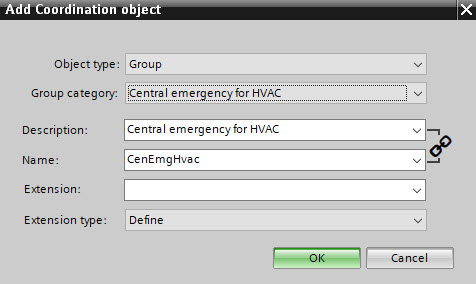
- In the Object type field, select Group manager.
- Complete the required fields.
- Click OK.
- A new grouping object is created in the Project tree.
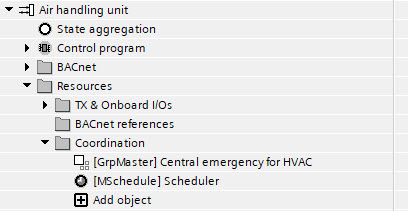
- Right-click the new created object and select Properties.
- Select the BACnet view option.
- Modify the group manager properties as required.
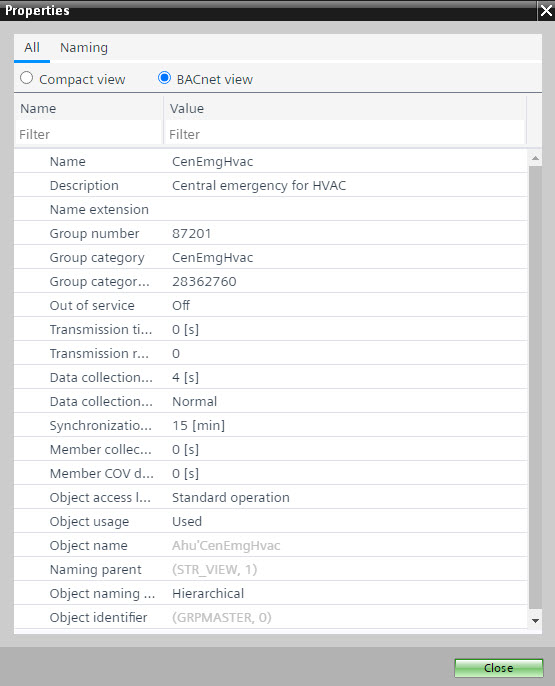
- Click Close.

The description and the name are linked, i.e., the description matches the name and vice versa. To unlink the description from the name, click the chain icon to the right of the Description and Name fields. To relink the description and the name, click the chain icon again.
Add a calendar object
- In the Project tree, select [Plant name] > Resources > Coordination.
Coordination folder - Double-click Add object.
- The Add Coordination object dialog box opens.
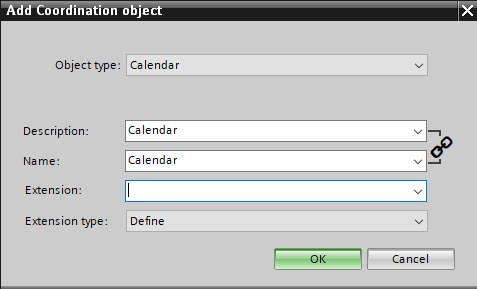
- In the Object type field, select Calendar.
- Complete the required fields.
- Click OK.
- A new calendar object is created in the Project tree.
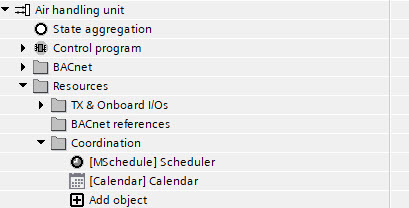
- Right-click the newly created object and select Properties.
- Select the BACnet view option.
- Modify the calendar properties as required.
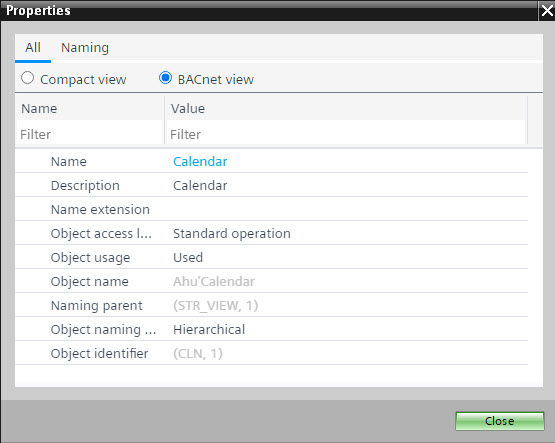
- Click Close.
- Right-click the calendar and select Properties.
- The Calendar opens.
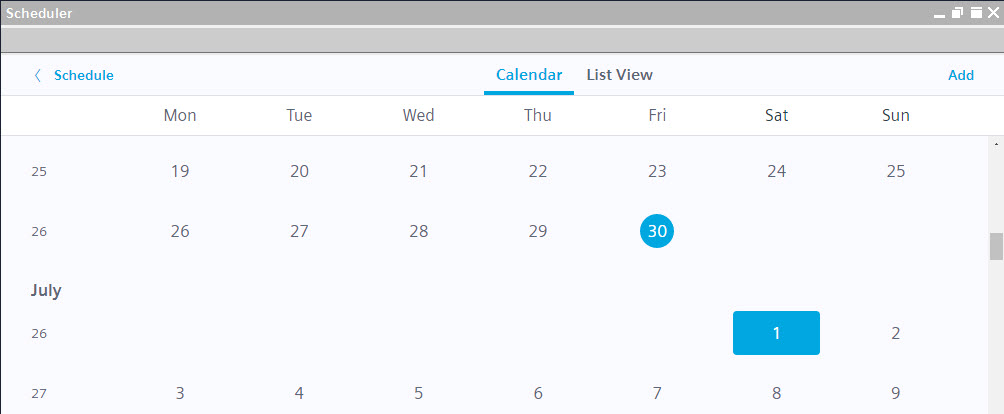
- Configure the calendar.
Exception schedules
The description and the name are linked, i.e., the description matches the name and vice versa. To unlink the description from the name, click the chain icon to the right of the Description and Name fields. To relink the description and the name, click the chain icon again.
Add a scheduler to the Programming editor
- Drag a scheduler (R_ASCHED, R_BSCHED, R_MSCHED) from the Function blocks folder in the Library to the Programming editor.
- The scheduler appears in the Coordination folder.
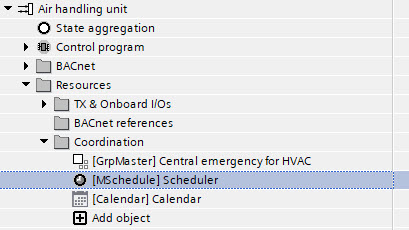
- Do one of the following:
- In the Project tree, select the Scheduler.
- In the control program, select the scheduler function block.
- Right-click the object and select Configure.
- Configure the schedule program as required.
Configuring a schedule - Define one time manager for the entire project.
a. Go to Building > Building structure.
b. Select a device.
c. In the [device name] tab, select Time sync.
d. Select the Time manager extension checkbox.
- The time manger is marked with a
 icon.
icon.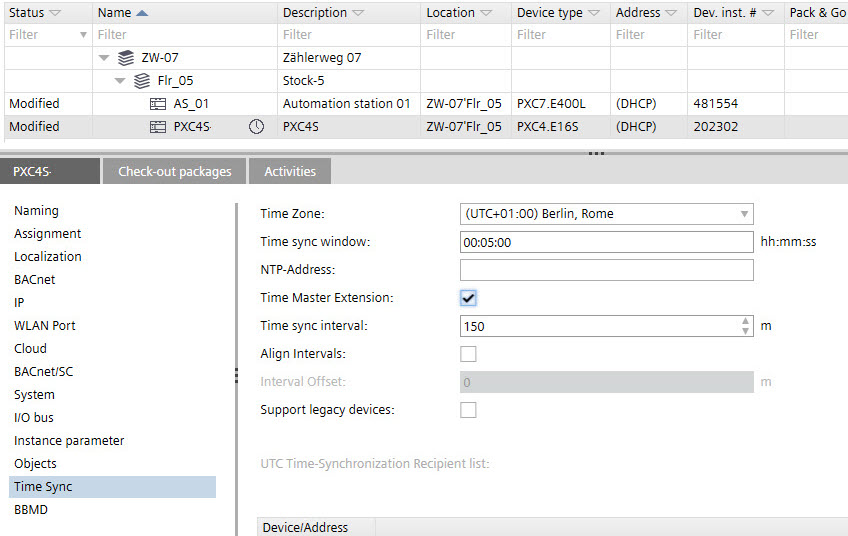
Device details
Programming editor
Plants navigation view